 icon. Double click it to install the program. You will
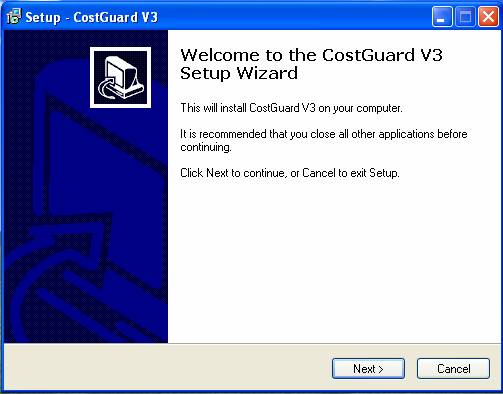
see this screen. Now, you should click Next to continue, or Cancel
to stop. If you click Cancel at any point in the installation, the
program will not install.
icon. Double click it to install the program. You will
see this screen. Now, you should click Next to continue, or Cancel
to stop. If you click Cancel at any point in the installation, the
program will not install.Welcome to CostGuard. We hope our program meets your needs. For an overview of all of the components available, click here.
This section provides complete instructions for standalone and server installs. If you are thinking about purchasing CostGuard, then click here.
If you are installing to a stand-alone computer, skip Installing CostGuard..
You can install CostGuard to a network. If you want to install it to a network, please check if you have a “dedicated” network or a “peer-to-peer” network. If you have a dedicated server, install CostGuard to the server first. Then install the other computers on this network as workstations. If you have a peer-to-peer network, you must install one computer as the server first, AND then the same computer as a workstation. If you are not sure what type of network you have, consult with your Network Administrator for details.
If you need to replace a workstation, you can deactivate the old machine and activate the new one without reinstalling the network program. If you need to replace a server, then you will need to copy any data onto the new server, and then re-activate the server.
When installing to a network, you will have to run the installation program on every computer that will use CostGuard. First, go to your server, and install the program using the server installation. Then go to each workstation and install the program as a workstation. When you are finished, you must go back to the server and activate it. Then you will go back to each workstation and activate them. As you read the directions, it will tell you the server and workstation options if they differ from the standalone installation.
Since CostGuard uses a shared database for all transactions, each user must have the same language settings on their computers. If you are not sure what your language settings are, consult your computer’s help section for details.
This part of the tutorial includes installing to the network and stand-alone computers. After you install the program, you can continue to use it in Demo Mode. For more information on Demo Mode, click here. If you have purchased the program, after you install it, you must activate it. The next section of the tutorial will show you how to activate the program.
1. Download the trial program from www.CostGuard.com. When prompted, you should click Save. Save the file to a directory on your hard drive. Depending on the download speed, this may take a few minutes.
Or, if you are installing CostGuard from a CD, then insert it into a disk drive. Click Start, click Run, and click Browse. Look for the file named CostGuardInstall.exe. Select it and Click OK. The installation program may start automatically, depending on how you have configured your computer.
2.
When it is finished loading, you need to find the icon. Double click it to install the program. You will
see this screen. Now, you should click Next to continue, or Cancel
to stop. If you click Cancel at any point in the installation, the
program will not install.
3. The next screen is the License Agreement. Spend a minute and read the screen. When you are finished, click the button in front of “I accept the agreement.” Click Next to go to the next screen.
If you do not accept the License Agreement, the program will not install.

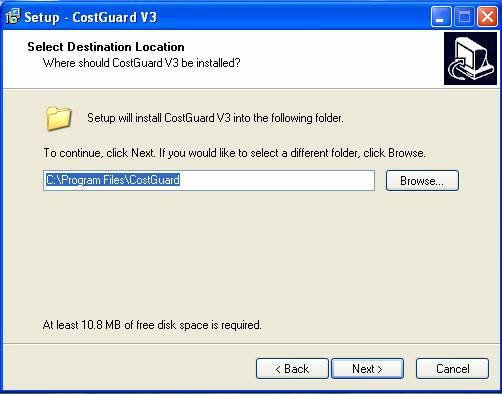
4. The next screen asks you where to install the program files. Read the directions. To change the location of the program files, click Browse. Click Next to go to the next screen.
It is best to accept our defaults. If you change file locations, you will need to change where CostGuard searches for information within the Program. If you are installing to a standalone PC or a workstation, it is normally the C drive. If you are installing to a server, then you can ignore this setting.
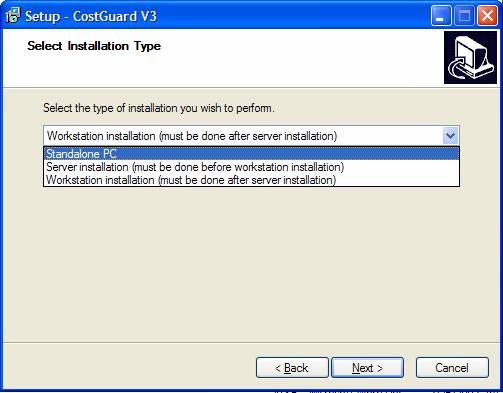
5. The next screen is the Installation type. If you are installing to a standalone PC, click Next. If you are installing to the server, click the down arrow and highlight Server Installation. If you are installing to a workstation, click the down arrow and highlight Workstation. Click Next.
Remember, you must install the server first, and then install the workstations.
6. The next screen will tell CostGuard where the data is stored. CostGuard will create a folder called “CostGuard Shared.” This will contain all of your data along with any passwords and user rights you create. If you are installing to a Standalone PC, then this folder will be in your Documents folder. If you are installing to a network, make sure it is in the network drive. If you are installing to a workstation, make sure that it is the same folder that you created when you installed the server. Every workstation must have full read & write access to the selected folder, otherwise Costguard won’t run. Click Next when you are finished.
You can click the Browse button to find the folder.

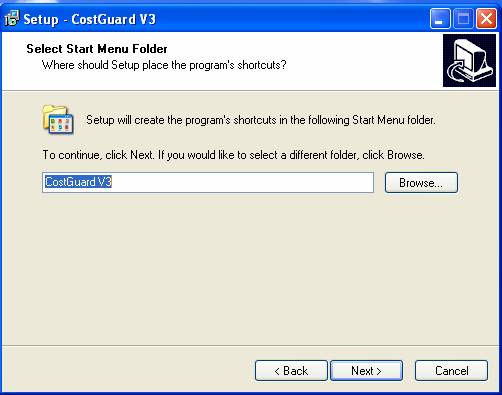
7. Next, CostGuard will ask where to place the program shortcuts. To continue, click Next. If you would like to select a different folder, click Browse.
It is best to accept our defaults.
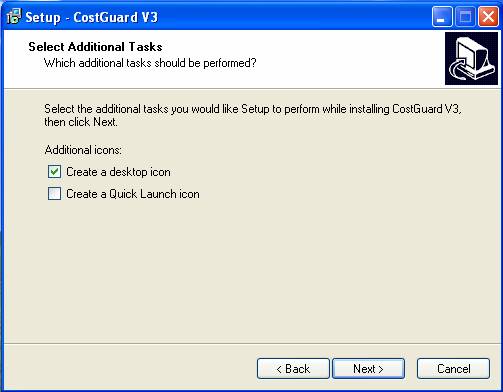
8. This screen asks if you want to create a desktop icon and a Quick Launch Icon. Check the boxes if you want these features installed. Click Next to continue.
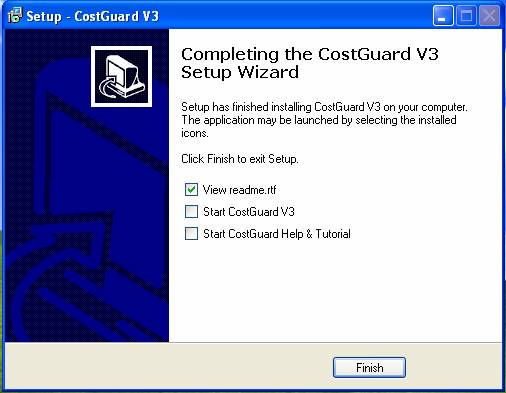
9. CostGuard will install the program. You will see a bar moving across the screen showing the progress. You will see this screen when the installation is done. Click Finish to exit, or click on one of the buttons and then click Finish.
If you click the View readme.rtf, CostGuard will show the Readme file. Click the Start CostGuard Help & Tutorial to view the tutorial. Click Start CostGuard, and the program will run.
10. If you are installing to a standalone PC, you can go to the activation process now. Click here for more information. If you are still evaluating the program, you can use it in Demo Mode. For more information on Demo Mode, click here.
11. If you are installing to a network, and you have just finished installing the server, go to your first workstation computer. Repeat steps 1 to 9, using the workstation installation. Make sure you browse and find the CostGuard Shared Directory for the data.
12. If you are installing to a network and you have finished installing to both the server and your workstation(s), you can go to the activation process now. Click here for more information.
Continue regular path.