 Transfer In Transfer In
 If another unit has transferred Inventory Items to the current unit, it will show as a pending transfer when you open up the receiving unit.
1. If you have an incoming Transfer, this message will appear when you open the Receiving Unit.

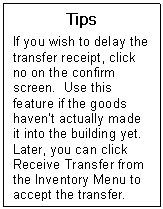
If you want to delay processing the transfer, click no. To process the transfer, click yes.
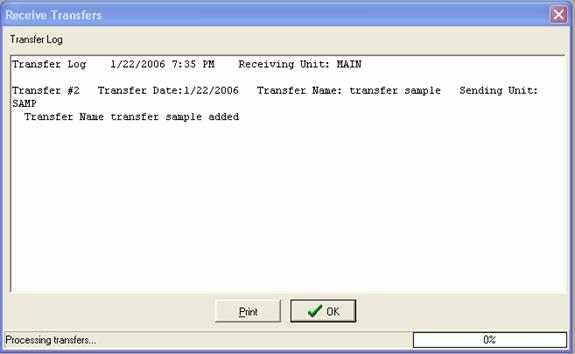
2. The Receive Transfer log will appear. It will show the Sending Unit, and the date of Transfer.
The Transfer will process immediately. A progress bar appears at the bottom of the pop-up window. When finished, you can click Print to print the log.
3. If an Item transferred is not in the Receiving Inventory Manager, the following pop-up menu will appear.

You can create the item, or click no to skip it. If you do not create it, then the item will return to a pending status. It does not return to the sending unit.
4. When finished, the Receiving log will appear.
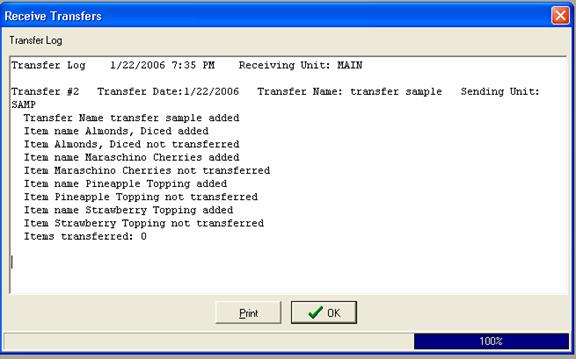
5. Some items may not transfer. Common problems include no location and no opening count for the Inventory Items. These item exceptions will remain pending.
The transfer log shows the items not transferred. Open up the receiving unit; fix the problem listed, and then Click Receive Transfer to bring the goods in.
6. Click OK when finished. You can now continue your business in this unit.
If needed, open the Inventory Items added and edit them as needed. For more information on editing, click here.
7. Saved Transfers appear on the Actual and Ideal Inventory Usage Reports. If you need to check how much, and what items were transferred on a particular day, use those reports to find the information.
For more information on the Usage Reports, click here.
To return to the main tutorial, click here.
To return to the Multi-Unit Controller, click here.
To go to another Tutorial click here.