
Tips
Get in the habit of backing up your data on a regular basis. Use purge to remove old transactions that may slow down the system.
Purging data deletes old transactions such as counts, receipts, bids, adjustments, transfers, requisitions, and sales within the system. Purge removes ALL transactions related to ALL items within the date range you specify. You cannot purge by transaction such as only counts. You cannot purge by items such as removing all transactions that include tomatoes. It does not delete actual data such as Inventory Items, Recipes, and Vendors. Once you purge transactions, they are gone, and you cannot resurrect them.
If your network speed has slowed, there are two options: first, you can purge the old data or you can purchase the client/server version of the database. This will speed throughout, and provide additional data protection. Please click here for more information.
1. Backup your files. For more information on backups, click here. When you are finished backing up your data close CostGuard.
2. Click Start, click [All] Programs, click CostGuard, and then Click Multi-Unit Controller.
The Multi-Unit Controller will appear.
3.
Use your mouse to highlight the unit you wish to Purge. Click
the ![]() button.
button.
CostGuard will only purge the unit you choose. Make sure you pick the correct one.
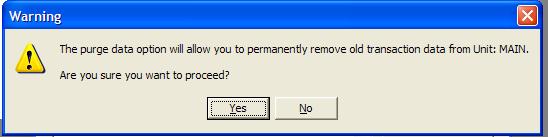
4. A warning popup will appear. Click yes to continue with the Purge, click no to cancel.
5.
Click the ![]() next to Start Date. A pop-up
calendar will appear. Choose the beginning date for the purge.
Click the
next to Start Date. A pop-up
calendar will appear. Choose the beginning date for the purge.
Click the ![]() next to End Date. Choose your end
date for the purge.
next to End Date. Choose your end
date for the purge.

Because you cannot retrieve purged data pick the oldest possible dates. To cancel the purge, click the cancel button. Once the Purge process begins, you cannot stop it or retrieve the data.
6. Click OK. The Status window will show the progress. When finished click OK to exit.
Continue regular path